Back-end: this repo
Front-end: https://github.com/securify-hackaton/front
Mock websites: https://github.com/securify-hackaton/mock
Demo video (French): https://www.youtube.com/watch?v=nHXzEYyTn3I
Pitch video (French): https://www.youtube.com/watch?v=LLz6NvmT7QM&
Securify is a mobile authentication application. It was built in 3 days and won the first place (out of 80 projects) during the 2018 EPSI Engineering school hackaton.
Websites can add a "Connect with Securify" button to let their users login with Securify as they would with Google or Facebook.
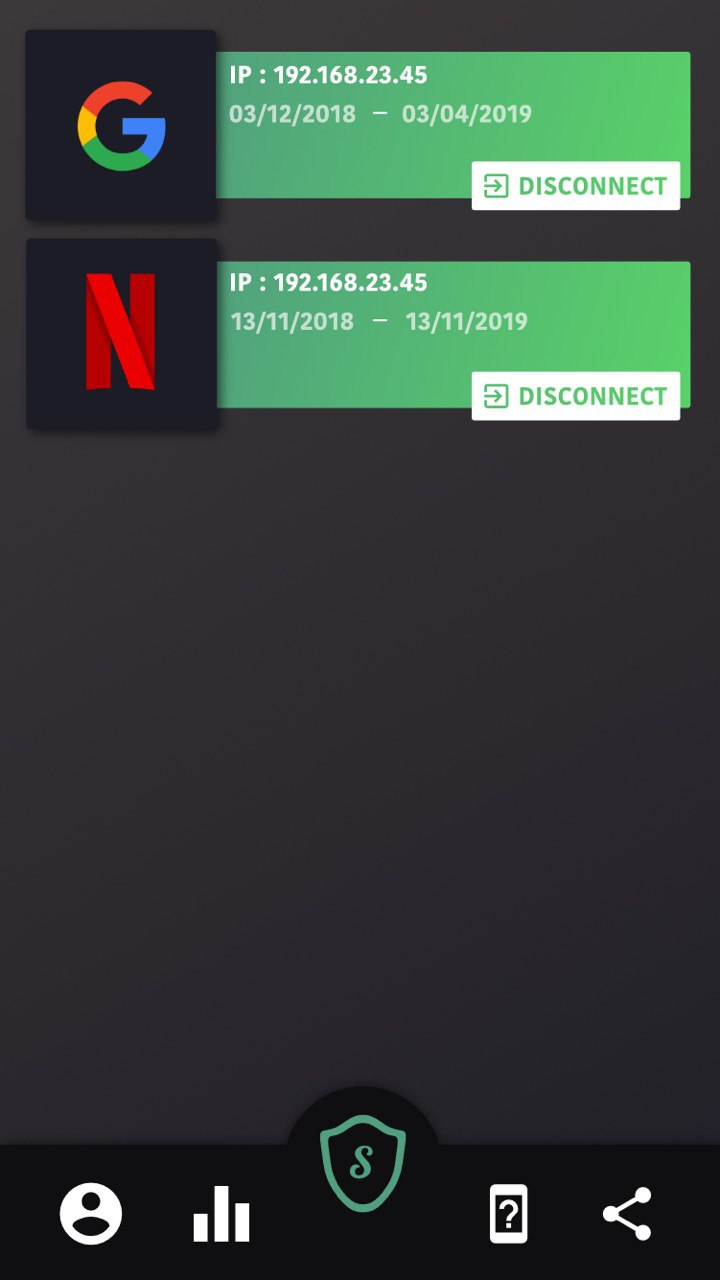
Users can allow or deny logins in the Securify mobile app, using their password or facial recognition, and chose what personal data they allow the website to use. They can then review the allowed connections and revoke them at any time:
- ability to chose what personal data 3rd party websites can access
- 1 password for every website
- centralised identity
- easily revoke an access
- let Securify handle authentication for you
- let Securify manage RGPD compliance and user data for you
- simplify user experience
- I have a Netflix account I want to use on a friend's PC, but don't want to give him my password.
- I want to login into my bank account on a public PC but do not want to type in my password.
- I am using my social media account on someone else's device and want to be able to disconnect remotely, from my mobile phone.
- I want to only remember 1 strong password and still have strong security than having a different password for every website.
- I don't want to use passwords at all and I'd rather unlock websites with facial recognition (working perfectly) or fingerprints (needs to be implemented)
We chose to use Node.js with TypeScript to speed up the development and have a rapidly working yet robust prototype. User data is stored in a MongoDB database, images for facial recognition are stored in AWS S3 (inages metadata in Mongo, binary data in S3) and uses Microsoft Azure Face API to verify face matching. Authentication is secured with JWT tokens, both between the mobile app and Securify's servers, and between 3rd party websites and Securify's servers. Each token has a scope of data it can use (email address, age, real name, nationality...) and can be revoked at any time. Using socket.io allowed us to keep open a socket connection, and to log users in without needing them to refresh their page. We used the gmail API with a freshly created gmail account to send email address verification emails. While this allowed us to be able to send mails quickly and easily, this would have to be changed for production. Database (MongoDB) hosted on Atlas, server hosted on Heroku.
Vue.js, CSS, Node.js+TypeScript, socket.io. Hosted on Heroku.
See https://github.com/securify-hackaton/front
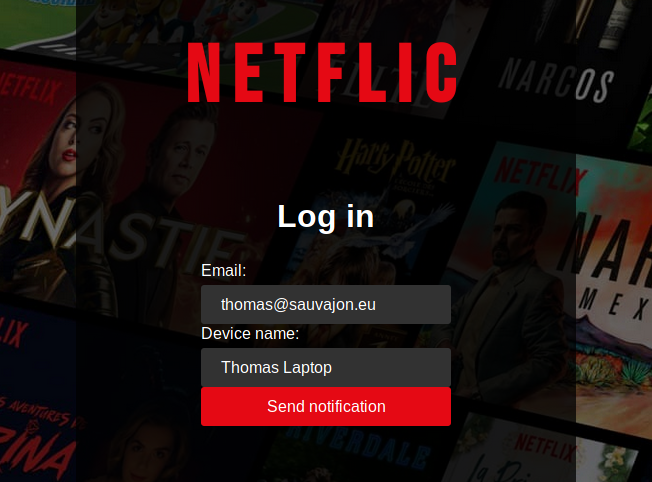
Left hand side: mock website (exemple here: Netflix).
Middle: back-end.
Right hand side: mobile app (front-end).
(0) User clicks "Connect with Securify" and inputs his email address

(1) POST query from Mock-Website-Frontend to Mock-Website-Backend
POST
{
    user email
}
(2) POST query from Mock-Website-Backend to Securify-Backend
POST
{
    mock website authentication key
    user email
}

returns
{
    authentication request ID
}
(2.5) Create an "authentication request" in the database
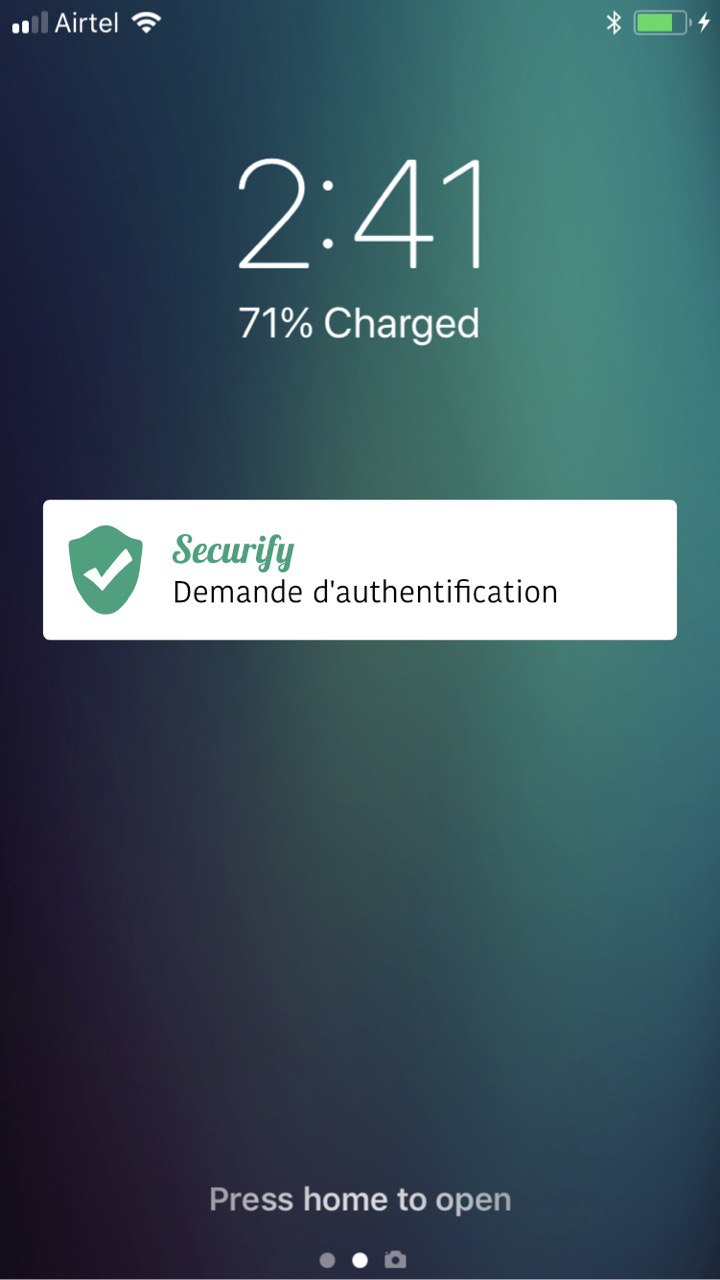
(3) PUSH notification from Securify-Backend to the correct mobile (identified by user email address)
{
    company
    authentication request ID
}
 Securify: Authentication request
(4) Display "Company X wants you to authenticate: Allow/Deny" on the mobile phone:

(4.5) If the user clicks allow, the mobile app will take a picture from the camera
(5) POST query from Securify-Frontend to Securify-Backend
POST
{
    allow: boolean
    picture
    authentication request ID
}
(5.5) Check with Azure Face API that the image matches
(6) POST query from Securify-Backend to Mock-Website-Backend, on the callback URL specified by the Mock Website.
POST
{
    allow: boolean
    authentication request ID
}
(7) Socket: allow or deny the authentication. If the user clicked "Allow" on the mobile app and the image matched, the user will now be authenticated with Netflix.
Install Securify on your mobile phone:
- Android: search "Securify" on the Google Play Store
- iOS: not available yet, because it costs 90€/year to list an app Create an account (with an email you will remember).
Netflic example: https://securify-netflic.herokuapp.com
Spautify example: https://securify-spautify.herokuapp.com
Epsy example: https://securify-epsy.herokuapp.com
Install Node.js LTS
Open a terminal in the back folder
# Install dependencies
npm i

# Setup the config
# Linux / MacOS (for Windows use SET instead of export)
export MONGODB_URI=[full uri with protocol, login, password and database]
export JWT_KEY=[secret]
export GMAIL_USERNAME=[[email protected]]
export GMAIL_PASSWORD=[password]
export DEPLOY_URL=http://localhost:3000
export AZURE_KEY=[Face API key]
export AWS_ACCESS_KEY_ID=[AWS access key with a S3 scope]
export AWS_SECRET_ACCESS_KEY=[secret]
export AWS_S3_IMG_BUCKET=securify

# Run the server
npm run start

# Create a dev account
# Name: full text name, e.g. "EPSI"
# Logo: image URL, e.g. "https://pbs.twimg.com/profile_images/1024649812988387328/QWQbqff7_400x400.jpg"
# Callback URL: http://localhost:3001/callback
echo http://localhost:3000/sdk

# Don't close the tab, you will need the public and private key!- Follow the README at https://github.com/securify-hackaton/securify-front to run the app
- Install Expo on your mobile phone (iOS or Android) and scan the QR code
- Register with a valid email
- Upload at least 3 pictures
Open another terminal in the mock repo
# Install dependencies
npm i

# Setup the config
# Linux / MacOS
export PRIVATE_KEY=[your private key, found when creating a dev account at http://localhost:3000/sdk]
export PUBLIC_KEY=[your public key, found when creating a dev account at http://localhost:3000/sdk]
export SECURIFY_URL=http://localhost:3000/authorize
# Windows
set PRIVATE_KEY=[your private key]
set PUBLIC_KEY=[your public key]
set SECURIFY_URL=http://localhost:3000/authorize

# Run the mock website
npm run start

# Access the mock website
http://localhost:3001/POST /users
{
email: string
password: string
deviceId: string
deviceType: string
firstName: string [OPTIONAL]
lastName: string [OPTIONAL]
}
returns
{
    user: User
    token: string
}
Login with an email and a picture
POST /login
{
    email: string
    password: string
}
returns
{
    user: User
    token: string
}
Create a developper account
POST /company
{
    name: string
    image: string
}
returns
{
    privateKey: string
    publicKey: string
}
Ask for an authentication
POST /authorize
{
    privateKey: string
    publicKey: string
    userEmail: string
}
returns
{
    requestID: string
}
Ask for a password reset link
POST /forgot
{
    email: string
}
returns
{
    message: string
}
Display the password reset page
GET /reset?email={email}&key={key}
returns an HTML page that allows the user to update their password
Reset your password
POST /reset
{
    email: string
    key: string
    password: string
}
All other routes require a token in the Authorization header.
Email needs to be confirmed to activate the token (a confirmation will be sent on registering)
Send a new confirmation email
POST /confirm
{ }
returns
{
    message: string
}
Get the logged user info
GET /profile
returns
{
    message: string
    user: User
}
Pending authorizations for the logged in user
GET /tokens/pending
returns
[
    {
        _id: ObjectId
        expirationDate: Date
        company: {
            name: string
            image: string
            scopes: string (joined with ';')
        }
    }
]
Active authorizations for the logged in user
GET /tokens/active
returns
[
    {
        _id: ObjectId
        expirationDate: Date
        company: {
            name: string
            image: string
            scopes: string (joined with ';')
        }
    }
]
Unvalidate any of the logged in user's tokens
POST /tokens/revoke
{
    tokenId: ObjectId
}
returns
{
    message: string
}


